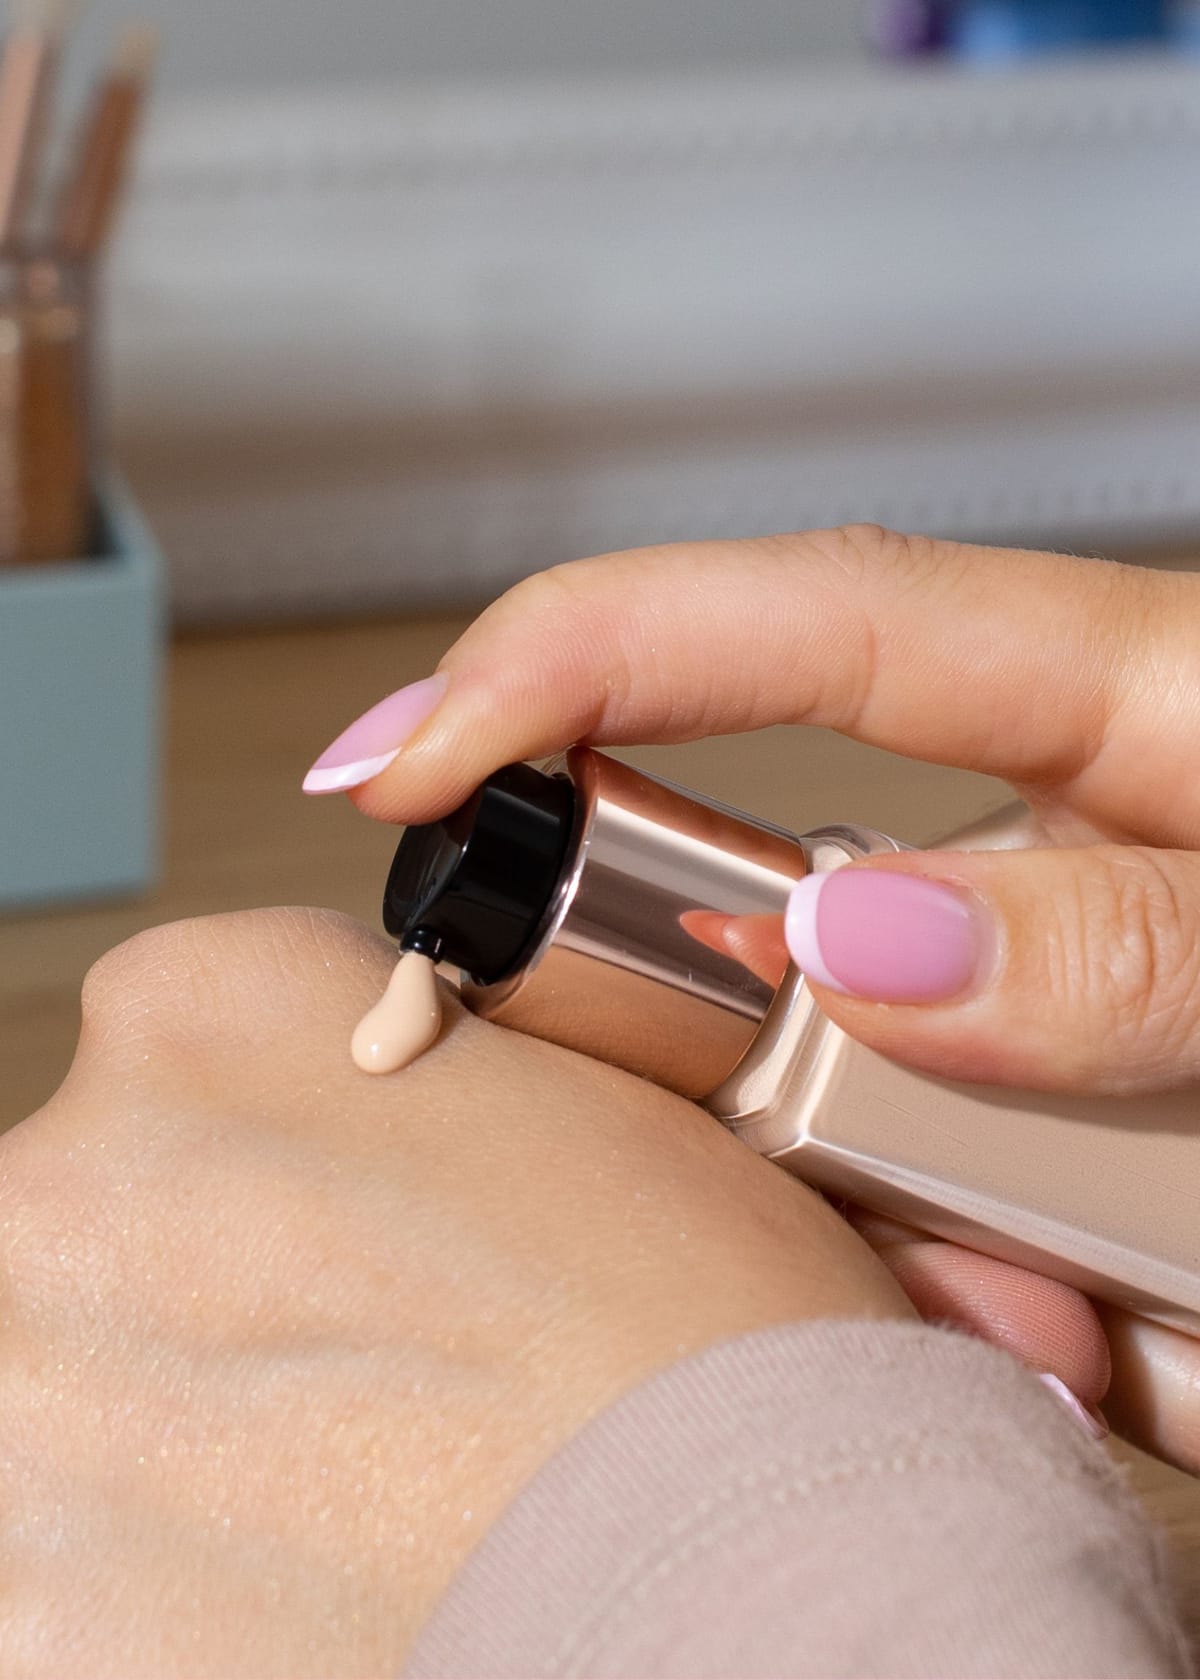
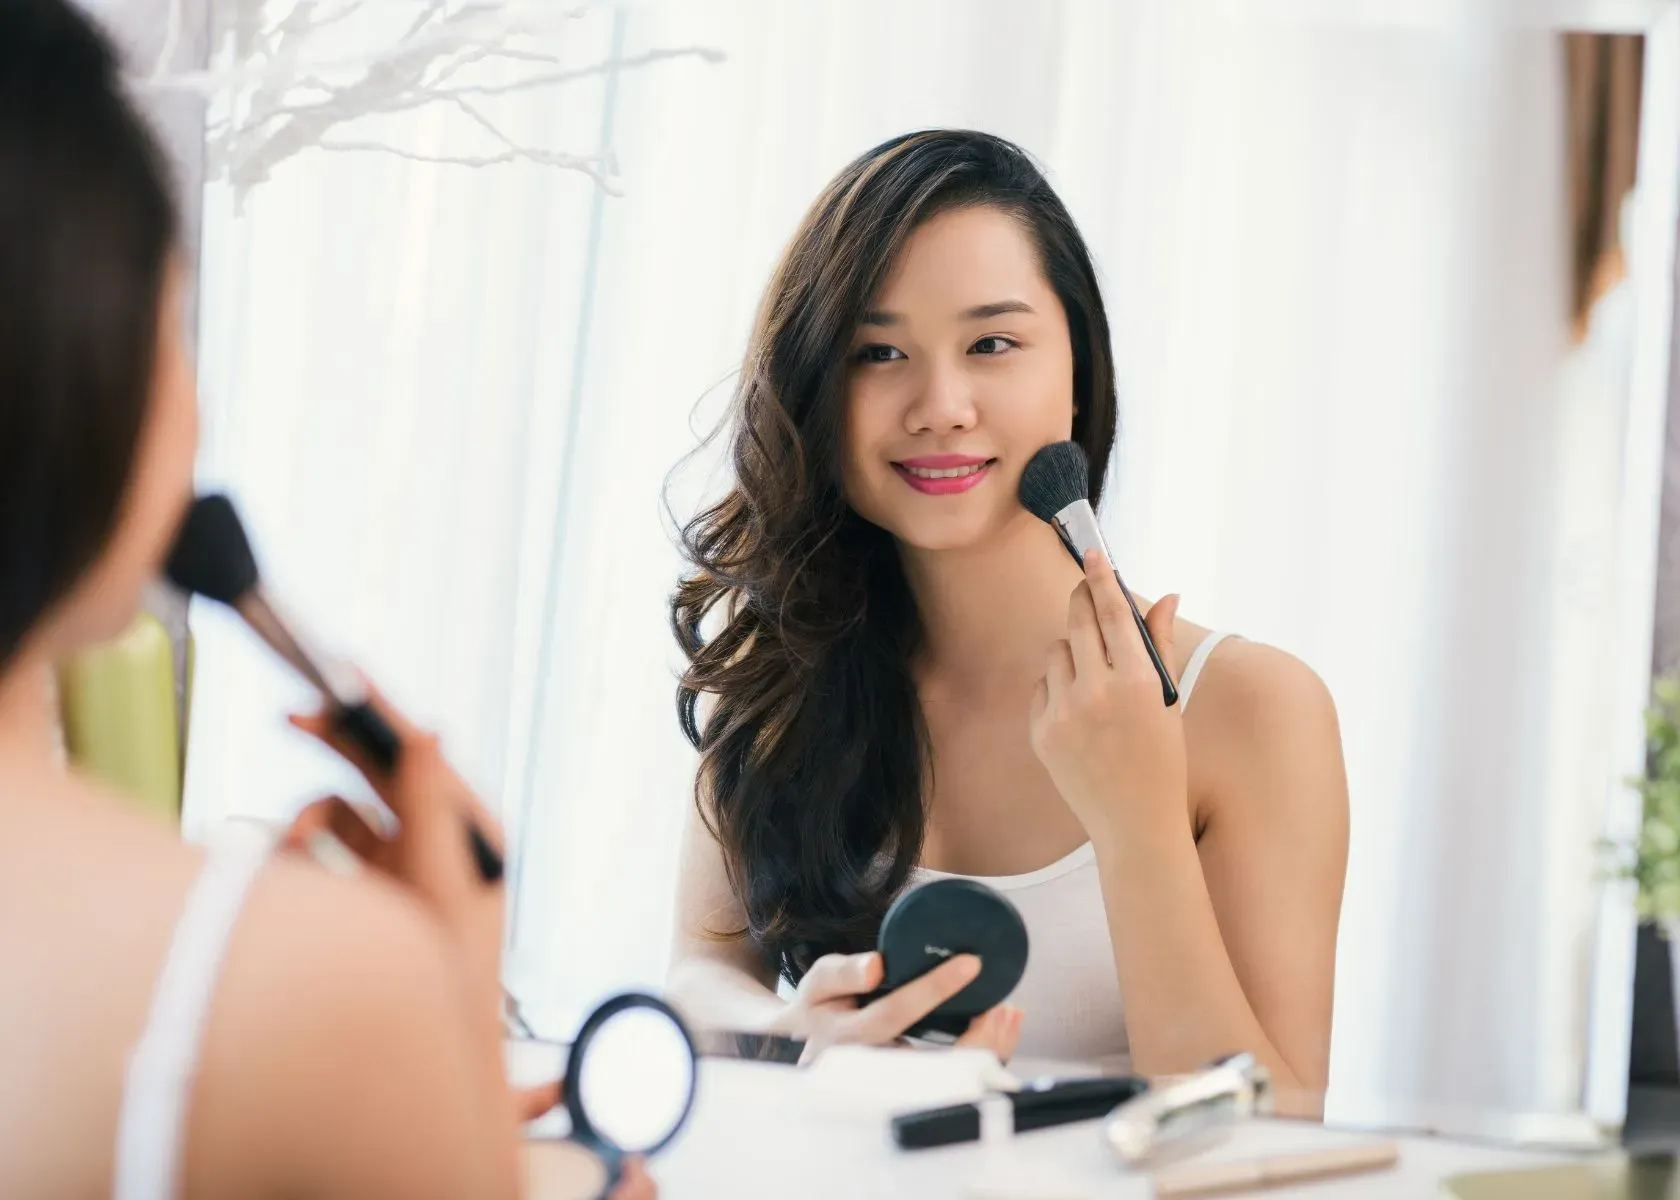
Mastering the art of makeup means understanding where to place each product for the best effect. Highlighter and blush are key players in creating a radiant look, but knowing exactly where to apply them can be tricky.
If you're aiming for a youthful appearance, focus on dabbing blush right on the apples of your cheeks. Those with longer faces might appreciate how strategically placed blush can create a softer, rounder face shape. Remember that foundation sets the stage before you add any color or shine with blush and highlighter. For those who contour their face with bronzer or darker shades for depth and definition — do this first. Follow up with blush, then highlighter to complete the sculpted look.
Discover helpful hints about selecting the right color shades that flatter your unique skin tone and professional techniques that ensure seamless blending every time you put on makeup — not forgetting pointers suited especially for beginners venturing into this colorful world.
Get ready to brighten and define with confidence! Let’s start enhancing those features.
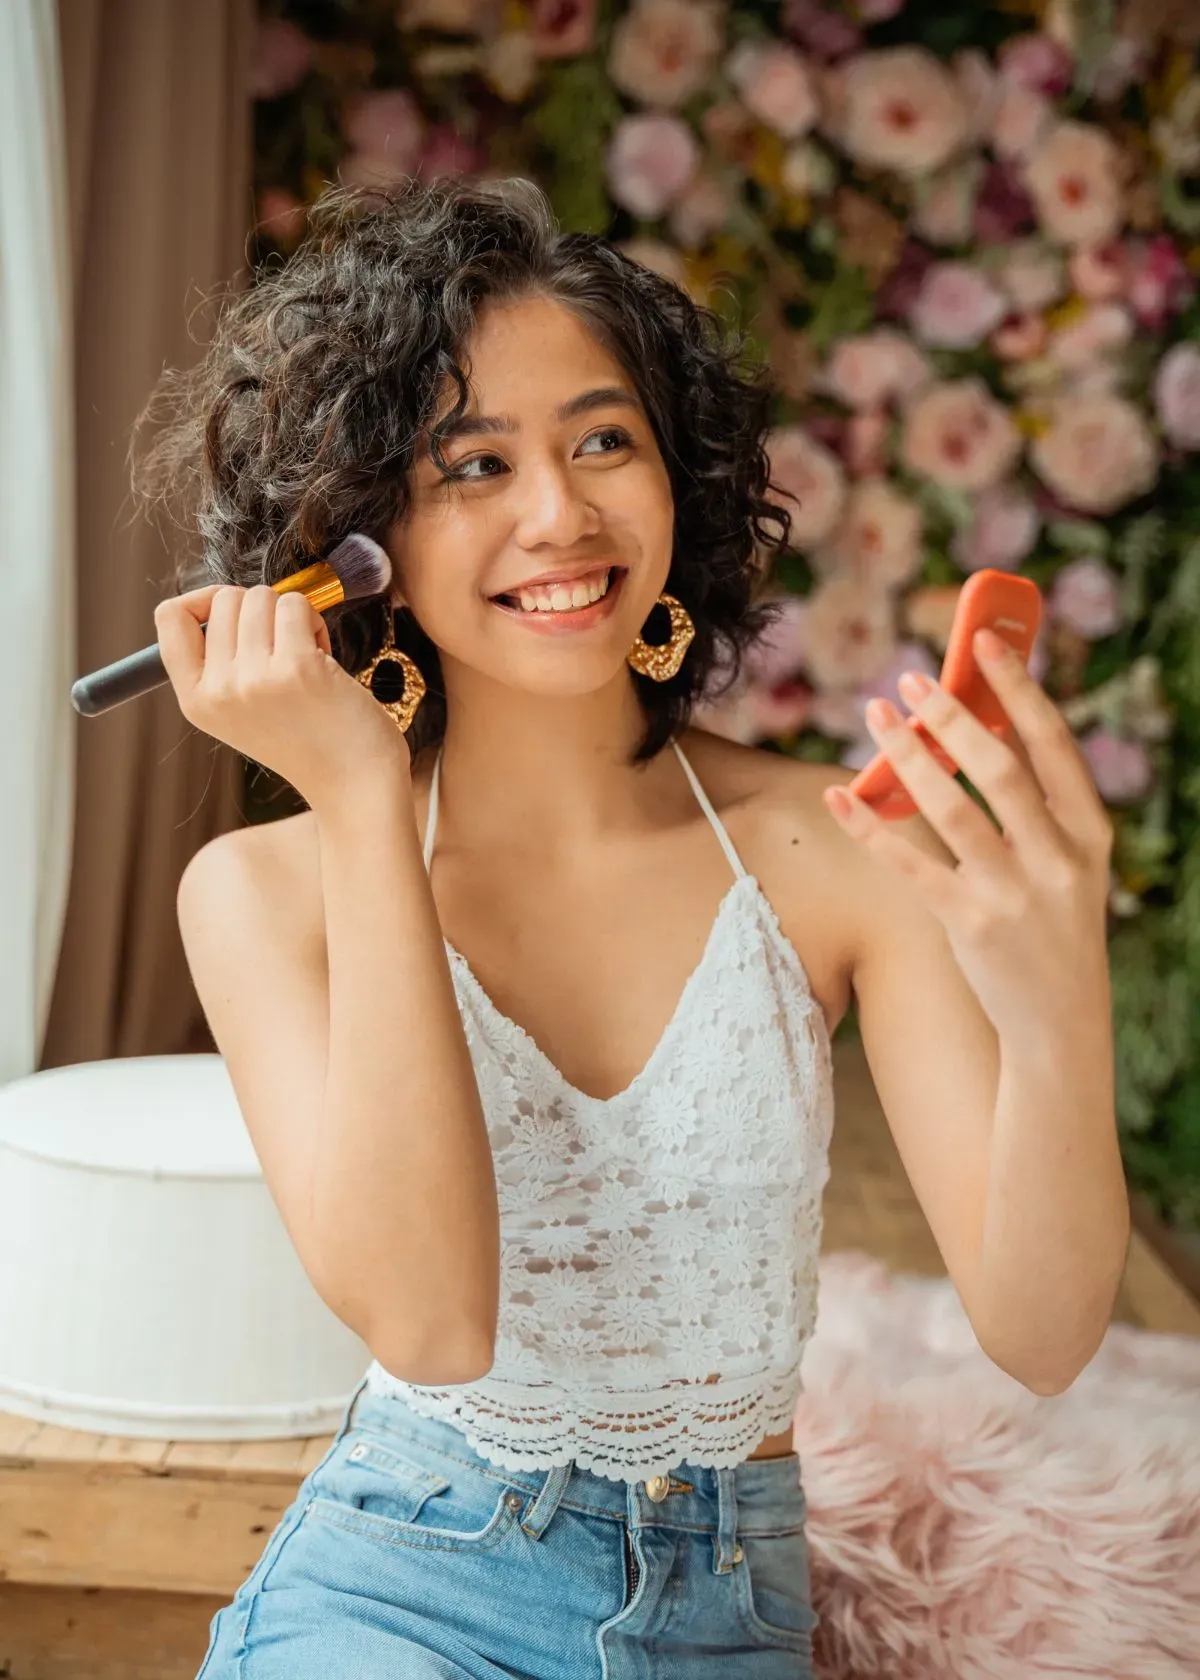
- Start by applying blush to the apples of your cheeks and sweep upwards towards the temples for a natural flush. Cream and liquid blushes blend well with fingertips, while powders work best with a fluffy brush.
- Bronzer should be applied lightly on areas where the sun naturally hits your face, such as your forehead, cheekbones, and jawline. Use a fluffy brush for powder formulas and fingers or a sponge for cream or liquid bronzers.
- Highlighter goes on the high points of your face like cheekbones, brow bones, cupid's bow, and down the bridge of your nose. Apply powder highlighters with a fan or tapered brush, and cream or liquid ones can be blended out using fingers or makeup sponges.
- To create harmony in your makeup look, choose colors suitable for your skin tone – cool undertones pair well with pinks, and warm undertones go nicely with peachy shades.
- For beginners aiming for an effortless application that looks great throughout the day, set makeup with setting spray after blending all products smoothly into the skin.
The Basics of Blush, Bronzer & Highlighter
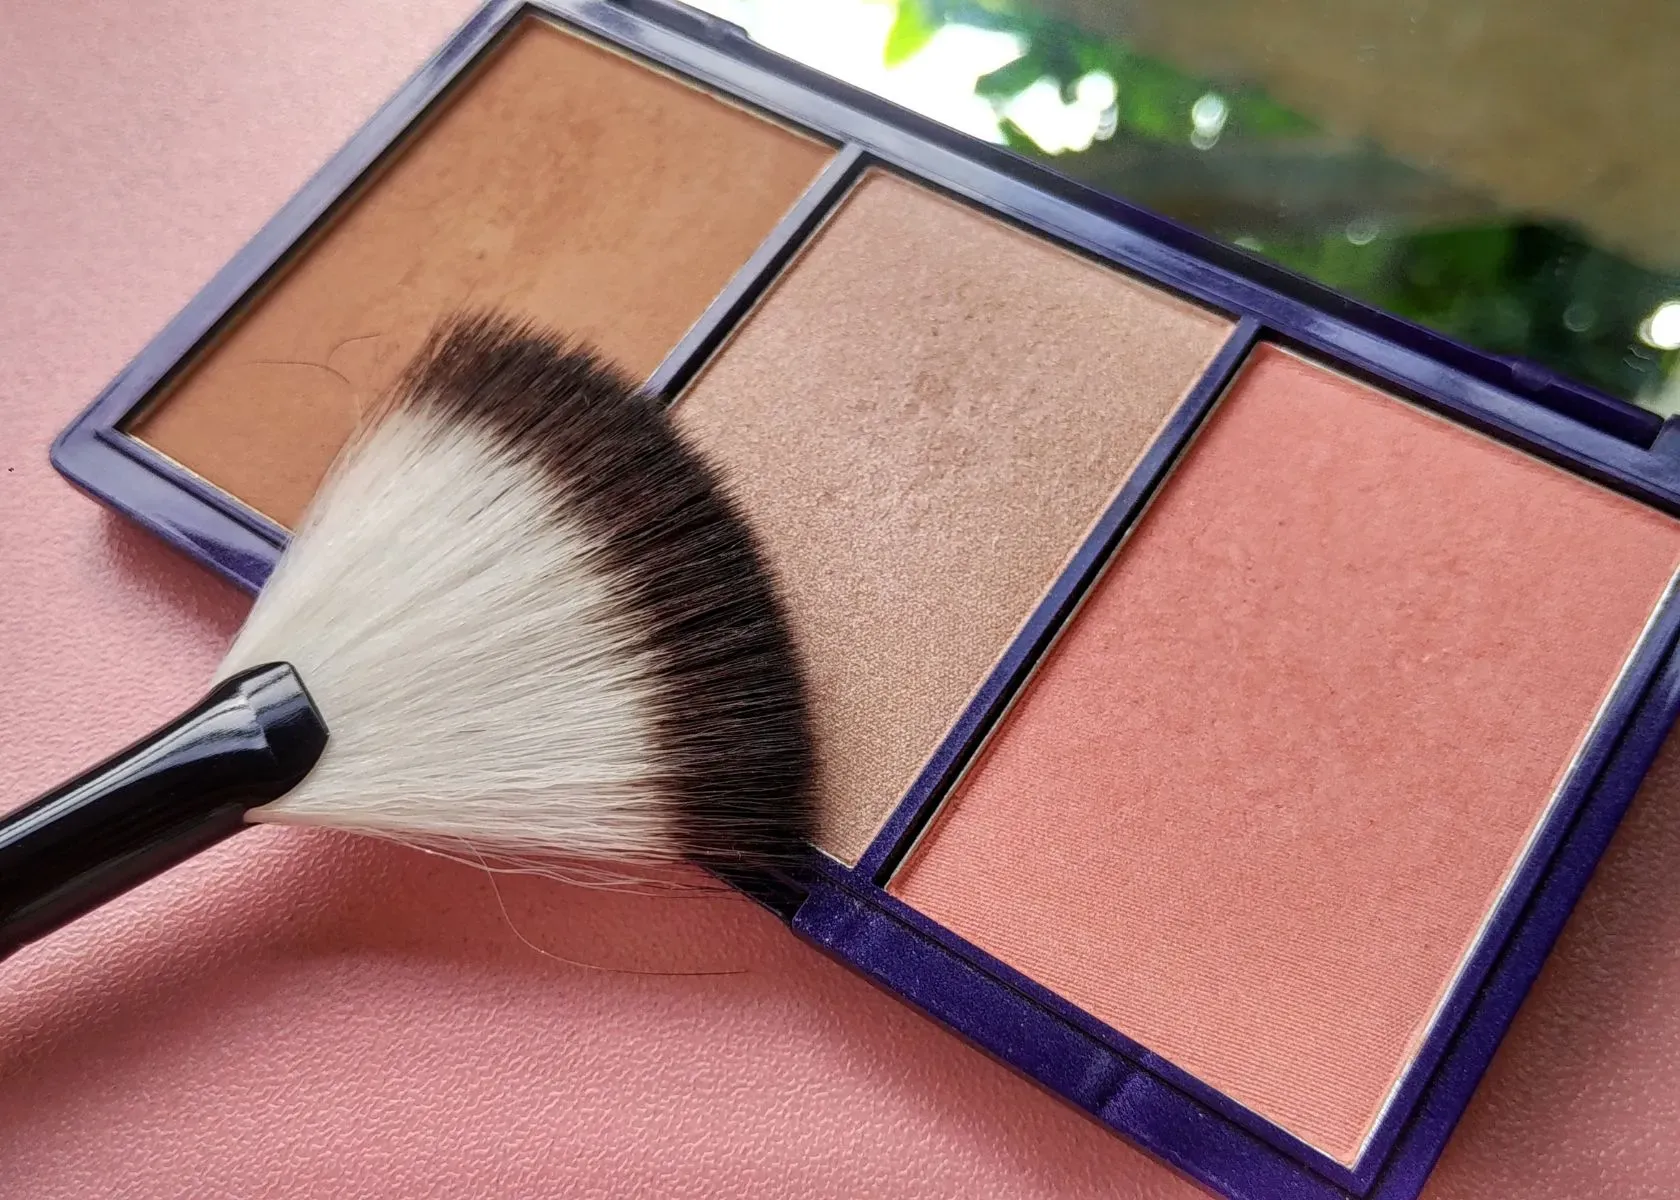
Learn about the different types of blush, bronzer, and highlighter and how to apply them to achieve a flawless makeup look. Master the art of contouring and highlighting with these essential makeup products.
Types of Blush and How to Apply Them
Blush adds color and warmth to your face, enhancing your natural glow. It comes in different forms like powders, creams, and stains, each with its unique application technique.
- Powder blush is the most common and works well for oily skin. Use a fluffy blush brush to sweep it across the apples of the cheeks and blend upwards towards the temples.
- Cream blush creates a dewy finish perfect for dry or normal skin types. Apply with your fingertips by gently tapping on the cheeks until it blends seamlessly.
- Gel or stain blush provides a long - lasting flush that's ideal for active days or warmer weather. Dab small dots on the cheeks with your fingers and quickly blend in a circular motion before it sets.
- Liquid blushes are versatile; you can apply them with a beauty sponge, brush, or fingers. Start with a tiny amount on the back of your hand, dip into it with your applicator, and pat onto the cheeks, blending outward.
- Mousse blush has a lightweight texture that builds from sheer to bold without caking. Use a synthetic stippling brush for an airbrushed effect by lightly buffing onto cheekbones.
- Mineral blush suits sensitive skin due to its natural ingredients. Swirl a dense angled brush in the powder, tap off excess, and apply in light layers to gently build color.
- Always start with the foundation to create an even canvas.
- Smiling helps you find the apples of your cheeks for perfect placement.
- Blend edges well to avoid harsh lines and create a natural-looking transition.
- Adjust intensity by adding more product gradually; it's easier than removing excess.
Types of Bronzer and How to Apply Them
After mastering the application of blush and highlighter, it's time to explore the world of bronzer. Bronzer comes in various forms, such as powder, cream, and liquid. Here are some tips for applying different types of bronzers:
- Powder Bronzer: Use a fluffy brush to apply powder bronzer on areas where the sun naturally hits the face - forehead, cheekbones, and jawline. Blend well to avoid harsh lines.
- Cream Bronzer: Apply cream bronzer with your fingers or a makeup sponge for a natural-looking contour. Dab small amounts on the hollows of the cheeks, sides of the nose, and along the hairline.
- Liquid Bronzer: Mix a few drops of liquid bronzer with your foundation for an all-over sun-kissed glow. Alternatively, use a stippling brush to apply it to specific areas for subtle definition.
- Choosing the Right Shade: Select a bronzer shade that is only slightly darker than your natural skin tone to avoid an unnatural look.
- Blending Technique: Always blend bronzer seamlessly into the skin to create a natural and radiant finish.
- Contouring vs. Warming Up: Determine if you want to use bronzer for contouring or simply warming up the complexion based on your desired makeup look.
Types of Highlighter and How to Apply Them
Now, let's explore the different types of highlighters and learn how to apply them for a radiant glow.
- Powder Highlighter: This type of highlighter comes in pressed or loose powder form. To apply, use a fan brush or tapered highlighting brush to sweep the product onto the high points of your face, such as cheekbones, brow bone, and bridge of the nose.
- Cream Highlighter: Cream highlighters are ideal for creating a natural dewy finish. Apply with your fingertips or a makeup sponge by tapping it onto the skin for a seamless blend. Focus on areas where light naturally hits the face.
- Liquid Highlighter: This type of highlighter provides a luminous sheen and can be mixed with foundation or applied directly to the skin before foundation for an all-over glow. Dot it on the high points of your face and blend using your fingers or a beauty sponge.
- Stick Highlighter: Stick highlighters are convenient for on-the-go touch-ups. Apply directly from the stick onto areas you want to highlight, such as cheekbones, cupid's bow, and inner corners of the eyes, then blend with fingertips or a beauty sponge for a subtle radiance.
- Baked Highlighter: Baked highlighters offer intense pigmentation and can provide a beautiful shimmer. Apply with a brush or fingertip to build up intensity on specific areas like cheekbones and temples.
Combining Blush, Bronzer & Highlighter
Get the perfect sun-kissed glow by learning how to expertly combine blush, bronzer, and highlighter for a flawless finish. Master the art of layering these products to enhance your natural features and achieve a radiant complexion.
Tips for Wearing All Three Together
To wear blush, bronzer, and highlighter together, start by applying foundation as a base. Then, follow these tips:
- Apply bronzer to the hollows of the cheeks and along the hairline for warmth and dimension.
- Use blush on the apples of the cheeks for a healthy flush.
- Apply highlighter on the high points of the face, such as cheekbones, brow bone, and nose bridge, for a radiant glow.
- Blend carefully to ensure a seamless transition between products.
- Consider your skin tone when choosing shades to create a harmonious overall look.
Where to Apply Blush, Bronzer & Highlighter?
Blush is typically applied to the apples of the cheeks, while bronzer is used to contour and add warmth to the face. Highlighter is best placed on the high points of your face to create a luminous glow.
Each product serves a different purpose and should be strategically placed for the most flattering effect.
Different Areas of The Face to Apply Each Product
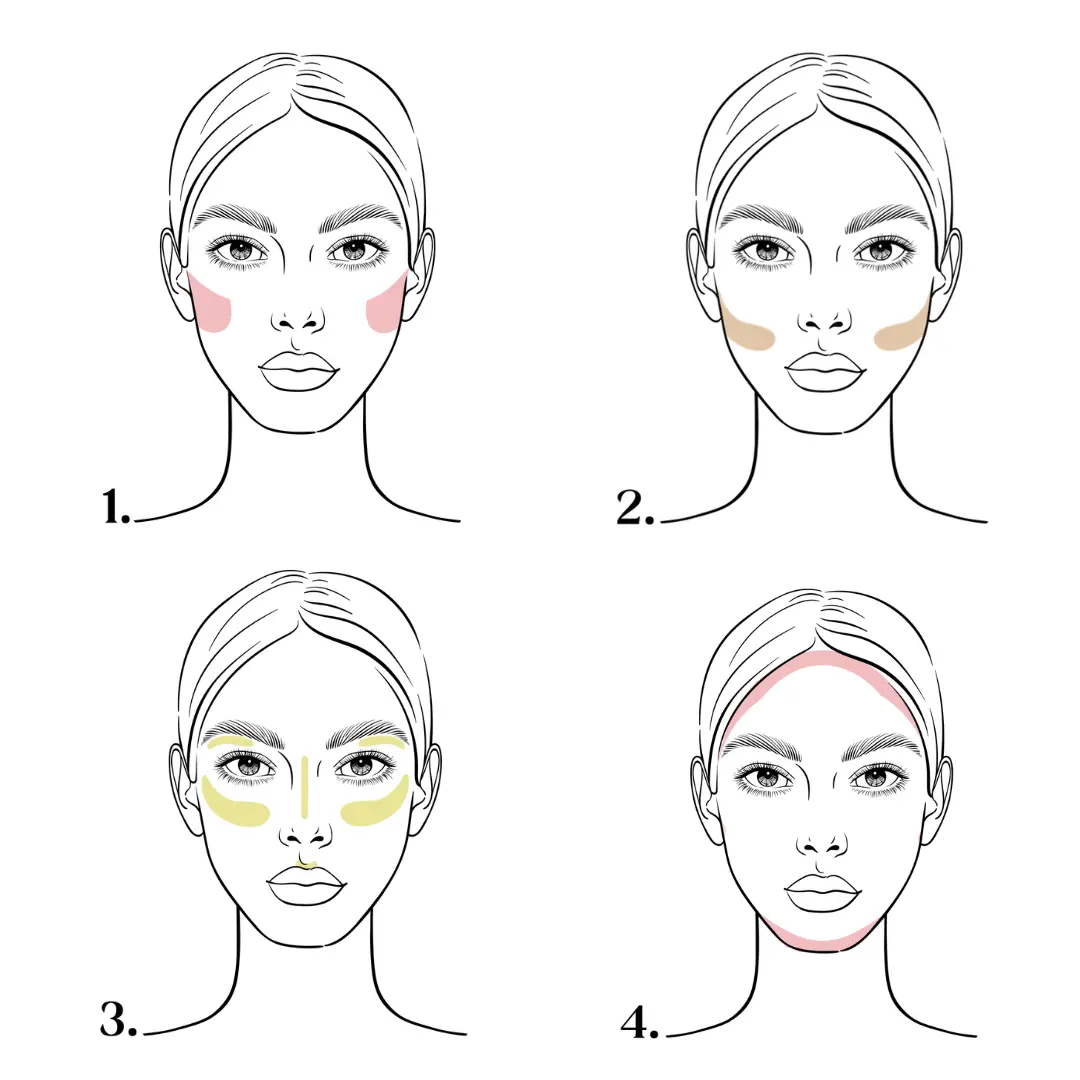
To achieve the best application, follow these tips for where to apply blush, bronzer, and highlighter:
- Sweep blush onto the apples of your cheeks for a youthful look.
- Apply bronzer along the hollows of your cheeks, temples, and jawline to contour and warm up the face.
- Highlighter can be applied on the high points of your face - cheekbones, brow bone, cupid's bow, and down the bridge of your nose.
- Use blush to add a rounder appearance to longer faces or create a definition on round faces.
- Remember that foundation should be applied before adding any cheek products.
- Always remember to blend gently for a seamless finish.
- When applying highlighter, consider using a fan brush for precise application to desired areas.
Using Blush as a Highlighter

Achieve a more natural look by using blush as a highlighter, creating a subtle and radiant glow. Learn how to master this technique in the following section.
How to Achieve a More Natural Look with Blush?
To achieve a more natural look with blush, start by choosing a shade that complements your natural skin tone. Opt for peachy or rosy shades for a subtle and healthy flush of color.
Lightly dab the blush onto the apples of your cheeks using a soft, fluffy brush to ensure even application. Blend the blush upward towards your temples for a seamless and natural finish.
Keep in mind that less is more when it comes to achieving a natural look with blush. Start with a small amount of product and build up gradually to avoid an overly intense effect. Additionally, consider using cream blush formulas for a dewy and radiant finish that mimics the look of naturally flushed cheeks.
Final Tips and Tricks
To achieve the perfect application, be sure to choose shades that complement your skin tone. Professional makeup artists recommend using a light hand and building up the product gradually for a flawless finish.
Additionally, investing in high-quality products can make a significant difference in achieving a natural and radiant look.
How to Choose the Right Shades for Your Skin Tone?
To choose the right shades for your skin tone, consider the following tips:
- Determine your undertone - whether it's warm, cool, or neutral.
- For fair skin with cool undertones, opt for pinks and light peaches for blush and pearl or icy tones for highlighter.
- For fair skin with warm undertones, coral or peachy blushes and champagne or gold highlighters work well.
- Medium skin with cool undertones looks great in mauve or rose blushes and silver or pinkish highlighter shades.
- Medium skin with warm undertones can use bronze or terracotta blushes and golden or bronze highlighters.
- Deep skin with cool undertones can go for deep plums or berries for blush and silvery or icy highlighters.
- Deep skin with warm undertones complements rich reds or oranges in blush and copper or bronze tones in highlighter.
- For contouring, makeup artist suggest that you should choose about two to three shades darker than the foundation you are using. As for the concealer, you should choose a few shades lighter than your foundation.
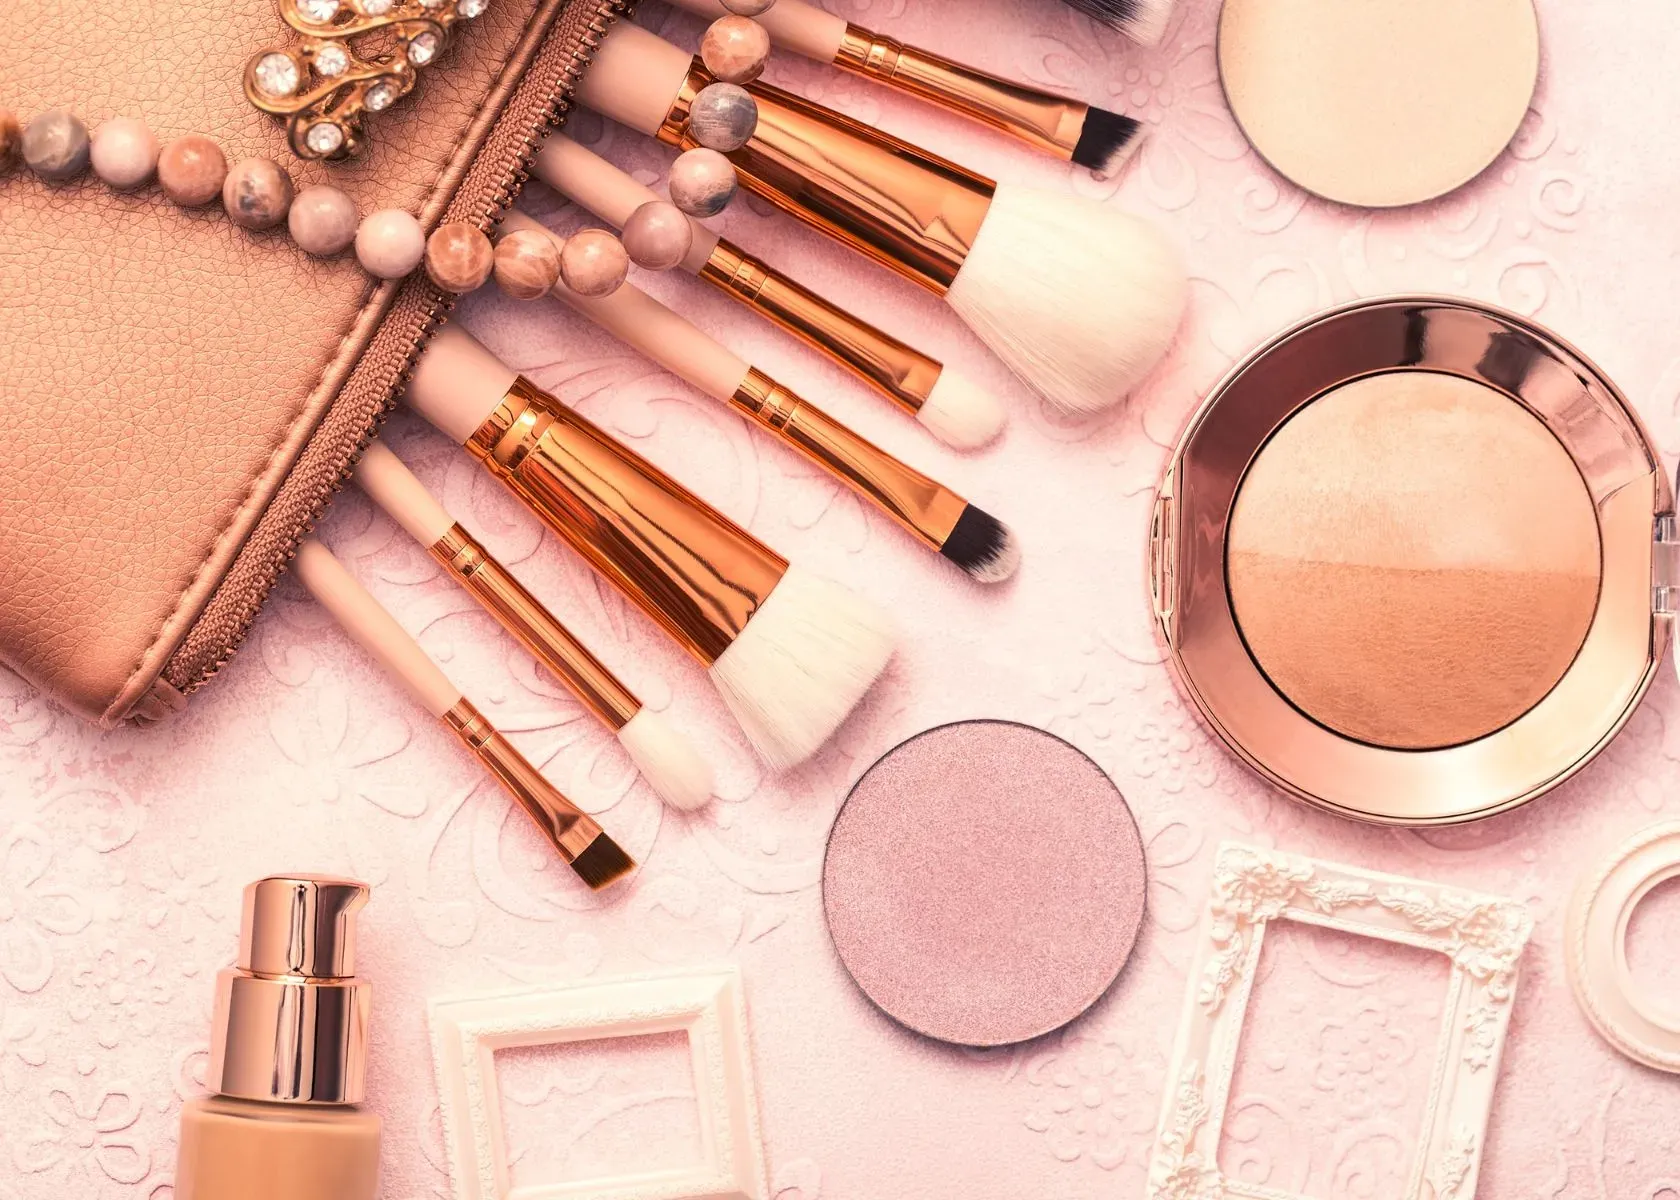
Pro Tips for A Flawless Application
- Start with well-moisturized and primed skin to ensure a smooth application of blush, bronzer, and highlighter.
- Use a light hand when applying blush and build up the color gradually to avoid a heavy-handed look.
- When applying bronzer, focus on the areas where the sun naturally hits the face, such as the forehead, temples, cheekbones, and jawline, for a natural sun-kissed effect.
- Choose a highlighter shade that complements your skin tone - lighter shades for fair skin and champagne or golden tones for lighter skin tones to darker skin tones.
- Blend your blush, bronzer, and highlighter seamlessly to create a harmonious and polished makeup look.
- Consider using cream or liquid formulas for a more natural and dewy finish or powder formula products for a matte effect.
- Use a small, fluffy brush to apply highlighter precisely on targeted areas like the high points of the face to avoid an overly shimmering appearance.
- If using both cream and powder products, apply creams before powders to ensure better blending and longevity of the makeup.
- Don't forget to set your makeup with a setting spray to help it last longer throughout the day.
Where to Put Highlighter and Blush - FAQs
Where should you apply highlighter and blush to play up your best facial features? Many find perfecting their makeup application tricky. This section will tackle some frequently asked questions about the ideal placement of these cheek products for a radiant, natural glow. Learn tips for accentuating your cheekbones, minimizing imperfections, and avoiding an overly shimmery look.
How do I apply highlighter for a natural look?
To apply highlighter naturally, dab it on the high points of your face, like cheekbones and brow bones, where light naturally hits.
Where should I put blush on my cheeks?
Place blush on the apples of your cheeks and blend outward for a fresh, rosy glow that enhances your face shape.
Can you give me tips for highlighting techniques?
For an effective highlighting technique, use a light hand to build up shimmer above your cheekbones, down the bridge of your nose, and on your cupid's bow.
Should I apply blush or highlighter first?
It is often best to apply blush first, then follow with a highlighter to bring focus to areas you want to accentuate after adding color to the cheeks.
What's the correct way to use bronzer with blush and highlighter?
Bronzer placement should be below the cheekbone, blending towards the ear temples. Wearing with Highlight above it creates depth. Use Blush between both softened edges, giving warmth & defined contouring finish.
Are there any special makeup application techniques for different face shapes?
Yes! When applying makeup, consider unique features; for round faces, concentrate bronzer along the outer perimeter, enhancing dimension while highlighting brings attention forward. Blush goes slightly higher, emphasizing cheek contours gracefully.
Conclusion
Understanding where to apply highlighter and blush is essential in achieving a well-balanced makeup look. The practical tips provided for applying these products suit different face shapes and are easy to implement.
Mastering these highlighting techniques can significantly enhance your overall makeup appearance and boost your confidence. Explore various beauty tutorials and guides that offer detailed insights into enhancing your facial features with the proper use of blush and highlighter.
Take charge of your makeup routine by experimenting with different placement techniques to discover what suits you best. All the tips provided in this article are approved by skin experts, hair stylist, and dermatologists, so you get safe, natural beauty.
Read More About Makeup Tips: